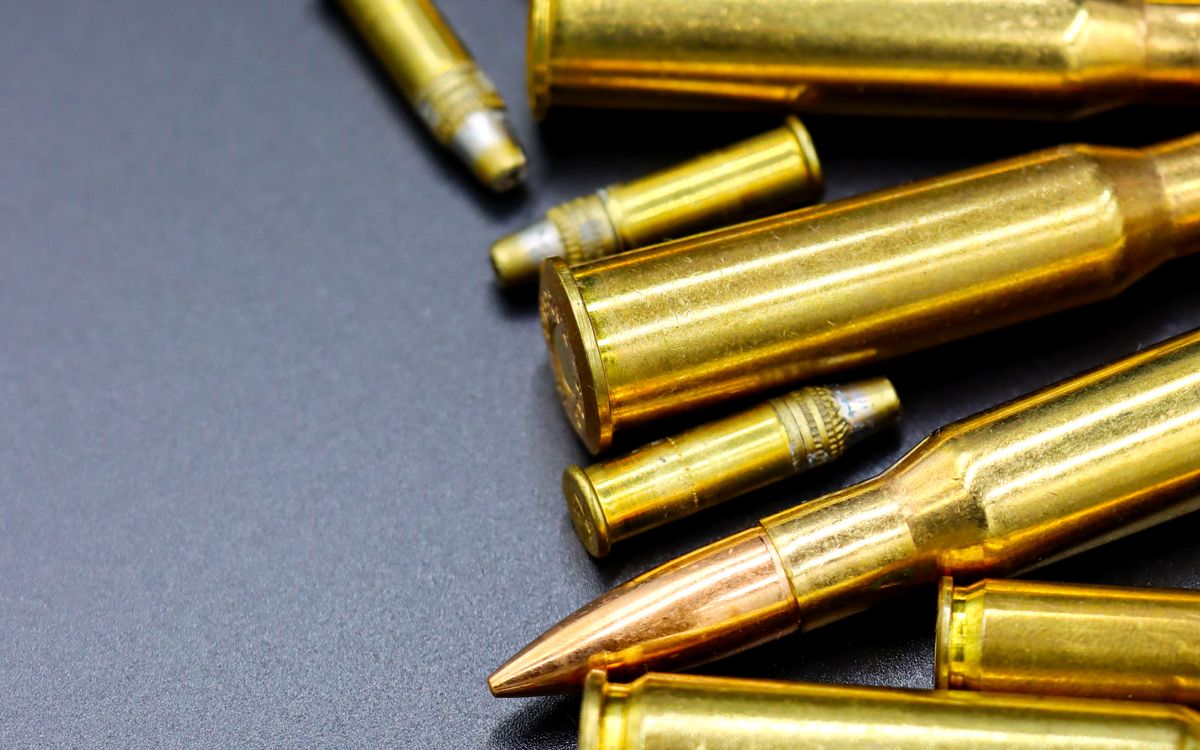
Consistent ammunition starts with consistent brass. Good brass prep is the unglamorous work that quietly lowers your SD, tightens your groups, and makes your cases last — and it is mostly about doing the same thing the same way every time. Here is a clear, step-by-step checklist, plus an honest note on which steps actually matter.
In this guide
- Why brass prep matters
- The brass prep checklist
- Which steps actually matter
- Common brass-prep mistakes
- Track your brass in LoadNode
Why brass prep matters
Every dimension that varies from case to case — neck tension, case volume, shoulder position, trim length — adds variation to your ammunition, and variation is the enemy of precision. Uniform brass means more uniform pressure and velocity, which shows up as a lower SD and ES and tighter groups. It also keeps your cases alive longer. And good prep stretches your brass budget — well-prepped, annealed cases can be reloaded many times before they are retired, which matters when quality match brass is not cheap and supply can be tight.
The brass prep checklist
- Clean the brass (tumble, ultrasonic, or wet) so grit does not scratch your dies or chamber.
- Inspect and cull — toss any case with neck cracks, head separation signs, or loose primer pockets.
- Resize with lube. For repeatable feeding and good brass life, full-length size and set your shoulder bump back a thousandth or two from fired length.
- Deprime (usually done during sizing).
- Trim to length. Brass flows forward when sized, so trim to a uniform length at or below max case length — consistent length means consistent case mouths.
- Chamfer and deburr the case mouth so bullets seat smoothly without shaving.
- Clean the primer pockets so primers seat to a uniform depth.
- Anneal periodically to keep neck tension consistent (more below).
Optional precision steps — uniforming primer pockets, deburring flash holes, sorting brass by weight or volume, neck turning for tight-neck chambers, or using an expander mandrel for uniform neck tension — can help at the margins, mostly for benchrest-level work.
Which steps actually matter
If you are chasing diminishing returns, prioritize the steps that move SD: consistent sizing (shoulder bump), uniform trim length, consistent neck tension, and annealing. These directly affect how the round chambers and how the bullet releases. The fancy extras — neck turning, flash-hole deburring — matter far less for most shooters than simply doing the core steps the same way every single time. Consistency beats elaborateness.
Common brass-prep mistakes
Most brass-prep problems are habits, not skill:
- Inconsistent shoulder bump — resetting your sizing die differently each session changes how the round chambers and adds variation.
- Too much (or leftover) case lube — over-lubing dents shoulders; failing to clean it off invites slipping and grit.
- Skipping the trim — cases that grow unevenly give you uneven mouths and inconsistent seating.
- Mixing headstamps and lots — different brass has different capacity and weight, so keep batches separate.
- Never annealing — letting neck tension drift over a dozen reloads.
None of these are hard to avoid; they just take a little discipline and the same routine every time.
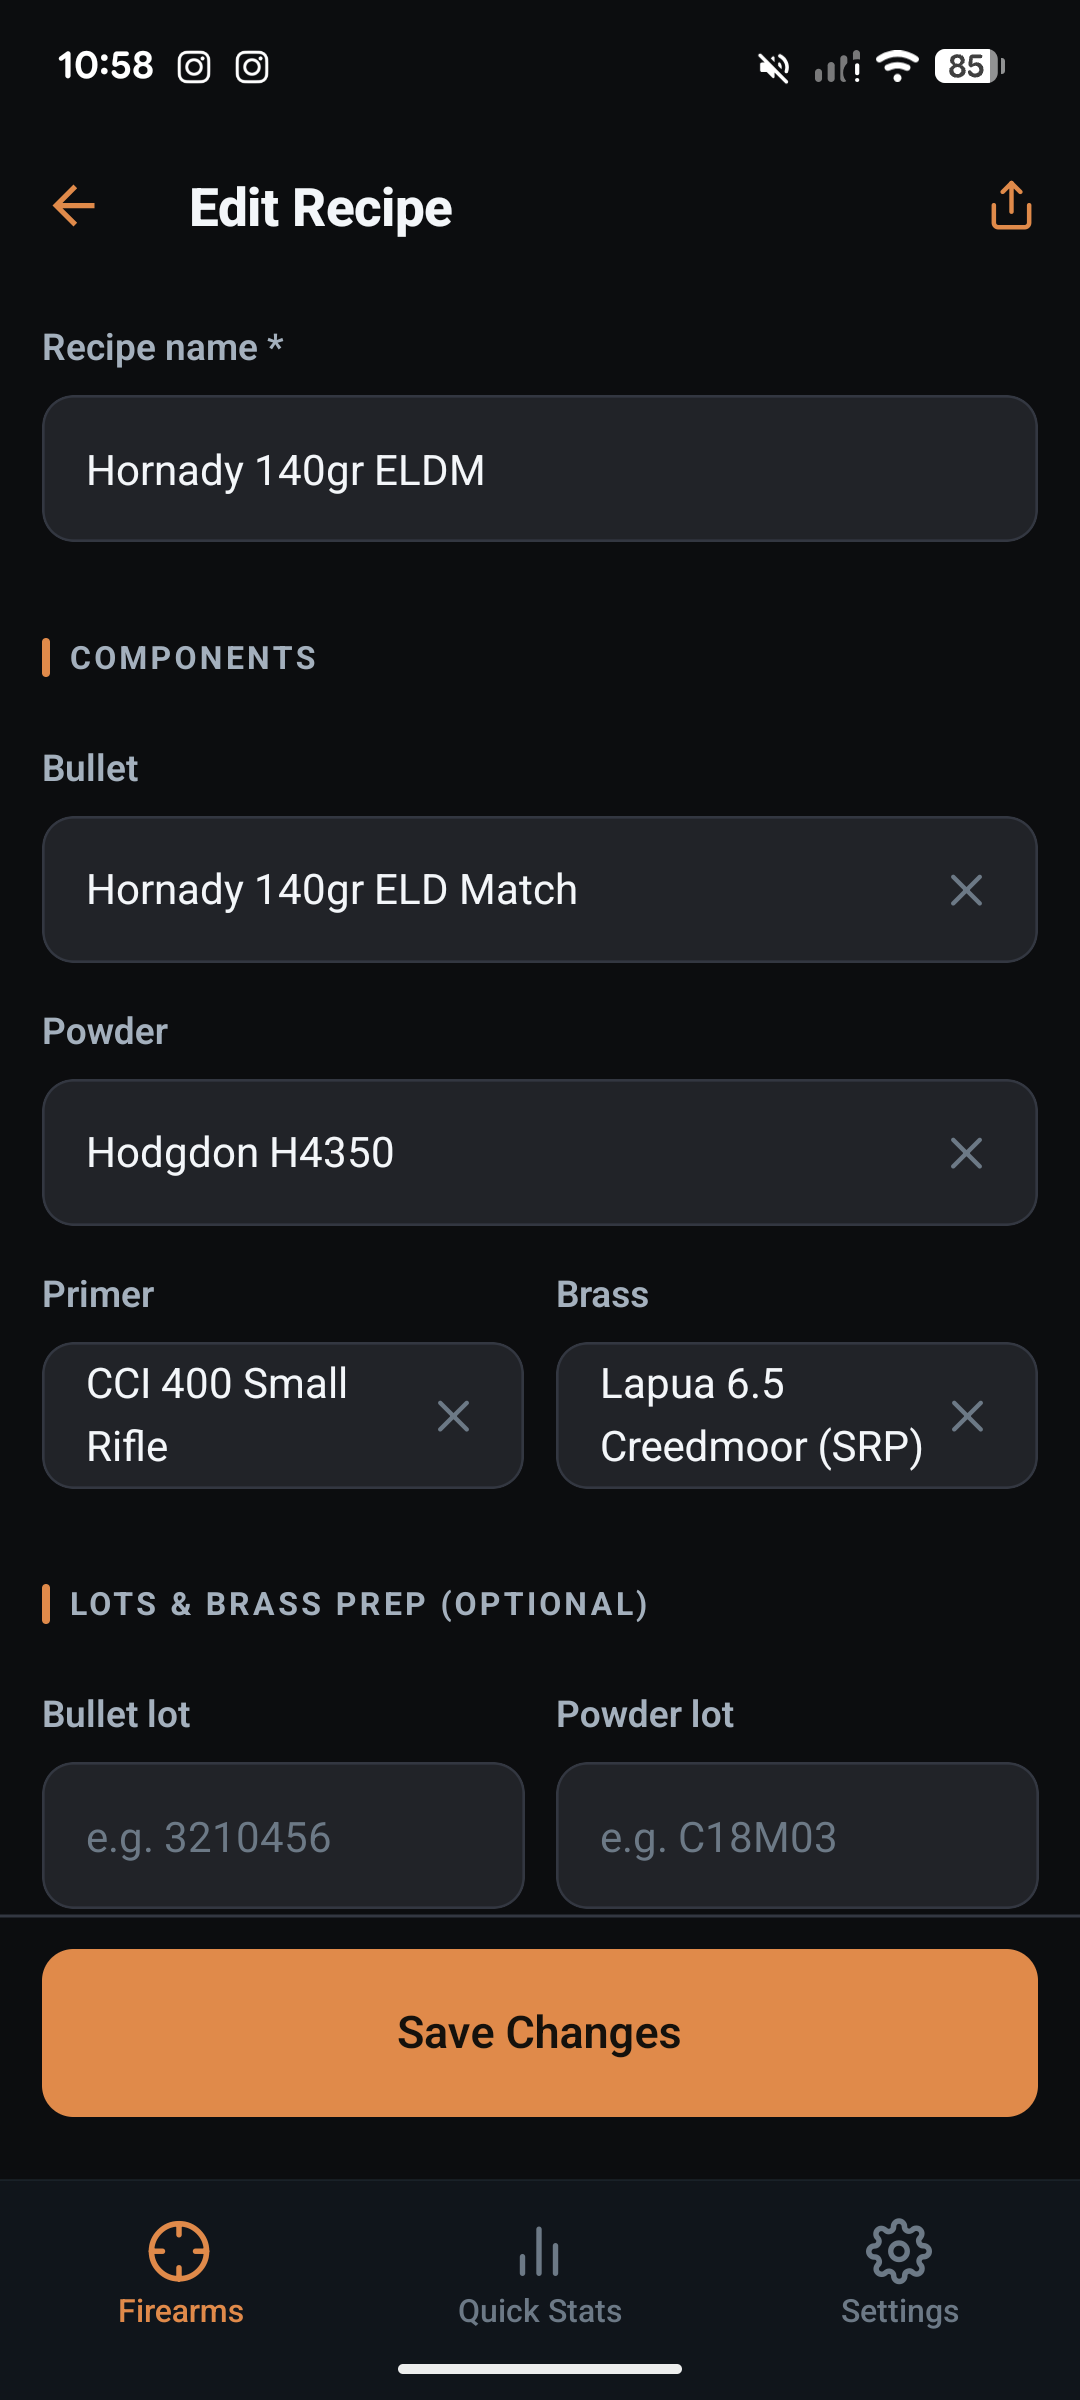
Track your brass in LoadNode
LoadNode lets you record your brass and lots in each recipe, note how many times a batch has been fired, and amortize brass cost across its life. Tie that to your velocity stats and you can actually see whether your prep is paying off in lower SD. Next, read up on annealing cartridge brass — the step that keeps neck tension consistent over the life of your brass.
Handloading is an adult activity. LoadNode is a logbook and analysis tool — it never provides load data. Always develop loads from current published data, start low, and work up safely.
Leave a Reply