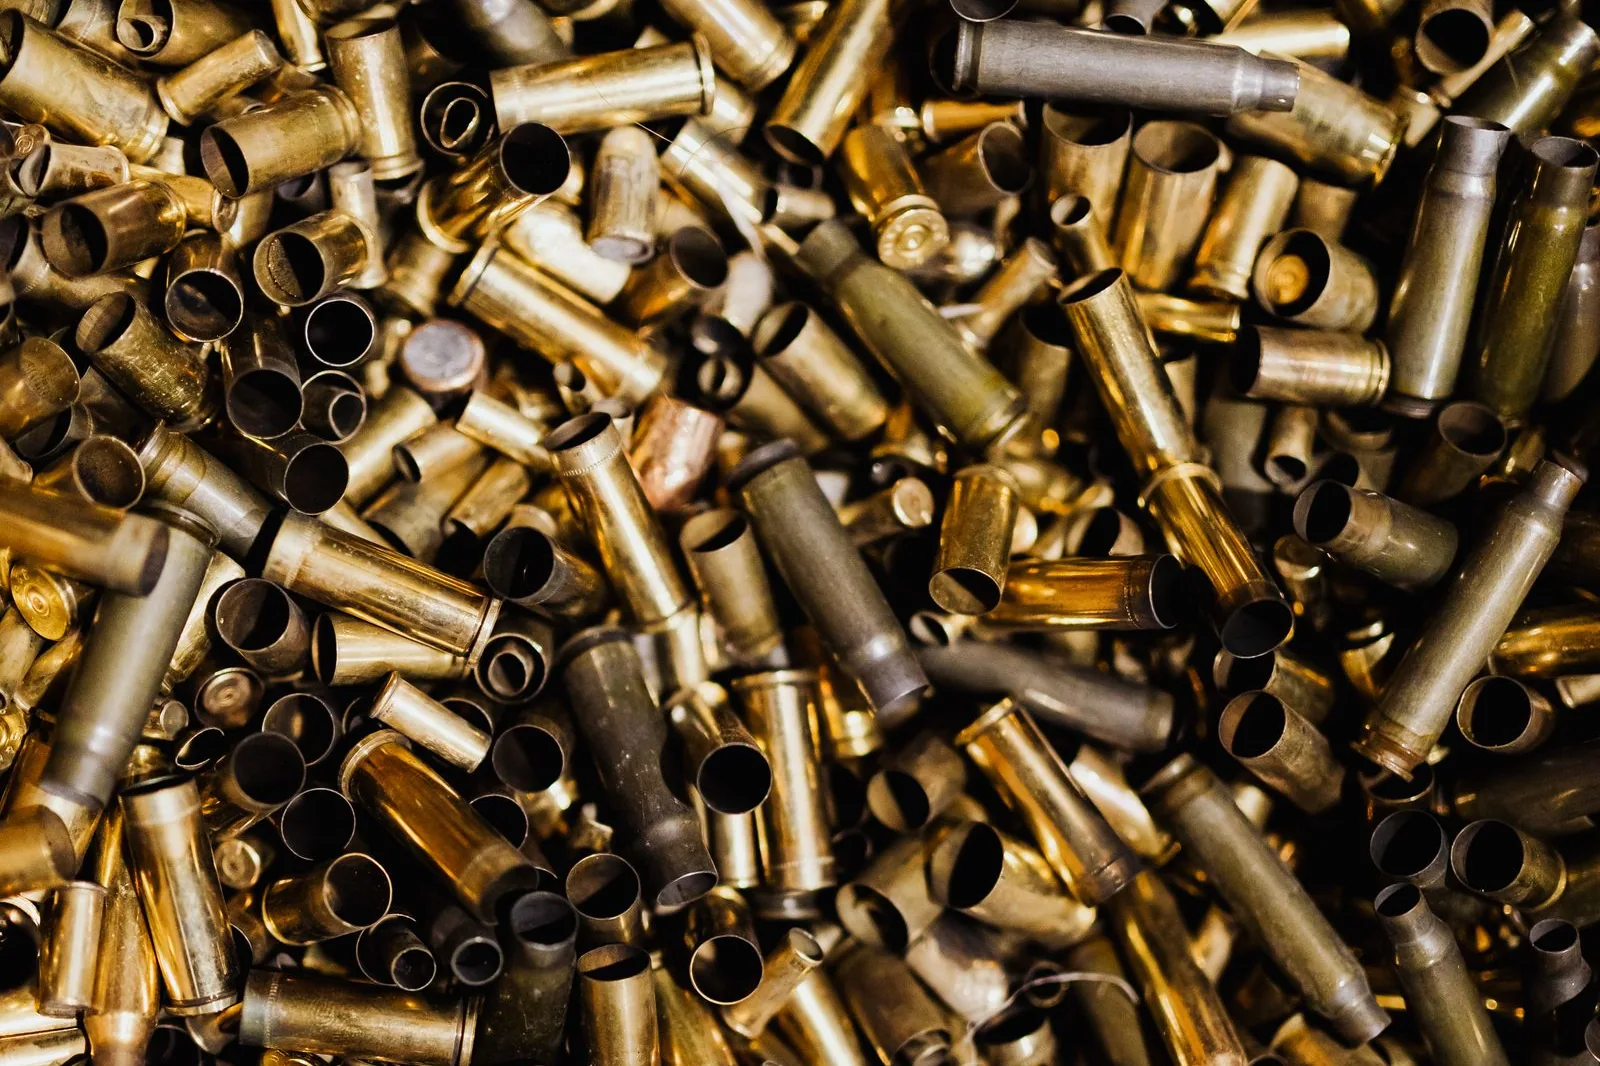
Full-length sizing is the default for most precision shooters now, and for good reason: it gives reliable chambering under a timer. But it is only as good as the amount you set the shoulder back, and that number is invisible unless you measure it. Learning how to measure shoulder bump is what turns a die setting from a guess into a repeatable process. It costs one cheap tool and two minutes per batch.
What shoulder bump actually is
When a round fires, the brass expands to fill your chamber and the shoulder blows forward until the case is a near perfect mould of it. Left alone, a fired case is a tight fit going back in. Sizing pushes the shoulder back by a small amount so the bolt closes without resistance. That amount is the bump.
Bump too little and the bolt gets stiff, which costs time and consistency. Bump too much and the case slams forward on firing, stretching the web and thinning the case wall, which shortens brass life. The window between those two problems is often only a couple of thousandths wide, which is exactly why guessing does not work.
Why chamber-specific measurement beats trusting the die
The old instruction to screw the die down to the shellholder and add another eighth turn was written for ammunition that has to work in any rifle. It sets a safe minimum, which usually means more bump than a bolt gun needs. Your press has its own flex, your shellholder its own thickness tolerance, and your brass its own springback. None of that is captured by a die setting.
Measuring closes that loop. You are not comparing your case to a published specification, you are comparing your sized case to a case fired in your rifle. For why most precision shooters land on full-length sizing at all, see full-length vs neck sizing.
The tool
You need a headspace comparator: a small bushing that clips onto a caliper jaw and contacts the case shoulder at a fixed datum diameter. One bushing usually covers a family of cartridges. The number it gives you is not true headspace and is not meant to be. It is a comparative figure, useful only against another reading taken with the same bushing on the same calipers. For the dimensional standards behind chamber and case design, SAAMI publishes the reference drawings.
How to measure shoulder bump, step by step
The method is simple, and the discipline is in the sample size rather than the technique. Here is how to measure shoulder bump on a batch of brass:
- Start with cases fired in that rifle, deprimed but not sized, with carbon wiped off the shoulder.
- Measure five to ten of them, seating the case squarely and using consistent, light caliper pressure. Write every reading down.
- Discard obvious outliers and average the rest. That average is your fired baseline for this chamber and brass lot.
- Set the die well short of contact, size one case, and measure it. It should read the same as fired.
- Lower the die in small increments, sizing and re-measuring the same case, until you reach your target below the baseline.
- Lock the die, size several more cases, and re-measure to confirm the setting repeats rather than having produced one lucky case.
- Chamber a few sized cases in the rifle. The bolt should close with no felt resistance.
Typical figures, and the honest caveat
The commonly quoted target for a bolt gun is around 0.001 to 0.002 inch of bump from the fired reading. Semi-autos are typically run with more, often in the region of 0.003 to 0.005 inch, because reliable feeding matters more than the last fraction of case life. Those are starting points that reflect what most shooters report, not laws. Your chamber, brass alloy, annealing state and lubrication all move the number. What matters is bolt feel plus a measurement you actually took.
Common errors when learning how to measure shoulder bump
Measuring a single case is the biggest one: cases vary, so one reading tells you almost nothing. Mixing headstamps is next, because different brands and lots have different wall thickness and spring back differently, so an average across mixed brass is meaningless. Sorting and preparing brass consistently, as covered in brass prep for accuracy, removes most of that noise before you pick up the calipers.
Springback catches people out too. Brass rebounds after leaving the die, so the case measures larger than the die position suggests, and harder, unannealed brass springs back more. Not letting the press fully cam over is another: stop short, or vary handle pressure between cases, and your bump varies with it. Inconsistent caliper pressure alone can swing a reading by half a thousandth.
Bump drifts, so re-check every firing
A die setting that gave 0.002 inch on once-fired brass will not necessarily give the same on the fifth firing. As brass work-hardens it resists sizing and springs back more, so the same die position produces progressively less bump until one day the bolt is stiff. Annealing swings it the other way. This is why knowing how to measure shoulder bump matters more than knowing one good die setting: the setting is temporary, the measurement is not. It ties directly into brass life, discussed in how many times you can reload brass.
Log it per batch
Record the fired baseline, the sized reading, the firing count, the headstamp and lot, whether the batch was annealed, and the die used. Over a season that log tells you how fast your brass hardens and which lot behaved differently. Without it you re-derive the same setting every time. This is the kind of per-batch measurement LoadNode is built to store, so sizing history sits alongside the rest of the record for that brass.
None of this is difficult. Knowing how to measure shoulder bump is one bushing, one set of calipers and the patience to measure several cases instead of one. It is the difference between hoping the ammunition chambers and knowing it will.
Handloading is an adult activity done at your own risk. LoadNode is a logbook and analysis tool: it never provides load data. Always develop loads from current published manufacturer data and work up safely.